
Create New Ticket
If you want to use one of the automated scenarios – please, select one from the Self-Service catalog https://support.noventiq.com/self-service?tab=self-service and click Create. You will be routed to a separate page with the request form you need to fill.
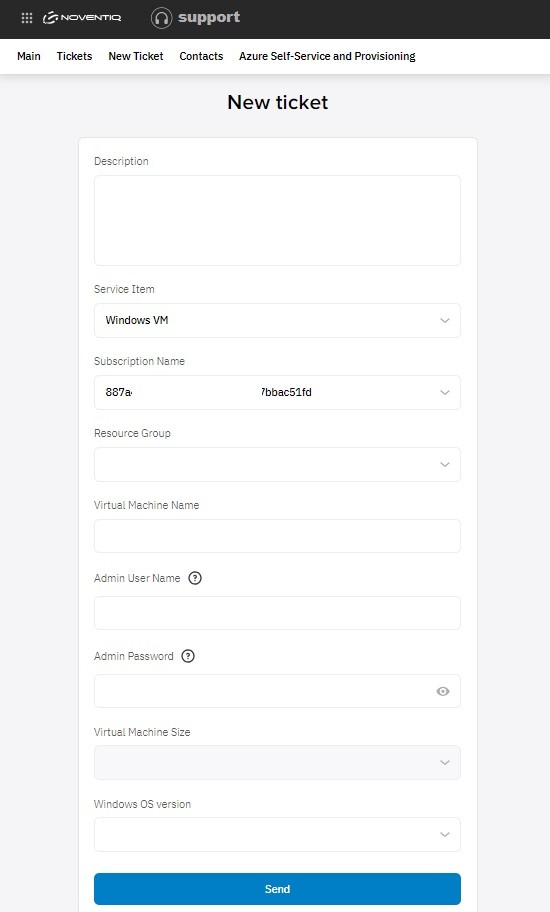
Windows VM
In the form to create Windows VM, you need to fill:
- Description – of the request itself. This field is not mandatory, but might help you to track for example the purpose for the resources to be created
- Subscription – select from a drop-down list in which subscription you want to create a resource.
- Resource group – select from the resource groups you already have or create a new one. If you want to create a new one – enter a name for it in the separate field that will appear.
- Virtual Machine name
- Admin username & Admin password – use our Tips to select the correct name and avoid potential errors during the resource provisioning
- VM size & OS version – select from the drop-down list of available parameters
And click Send!
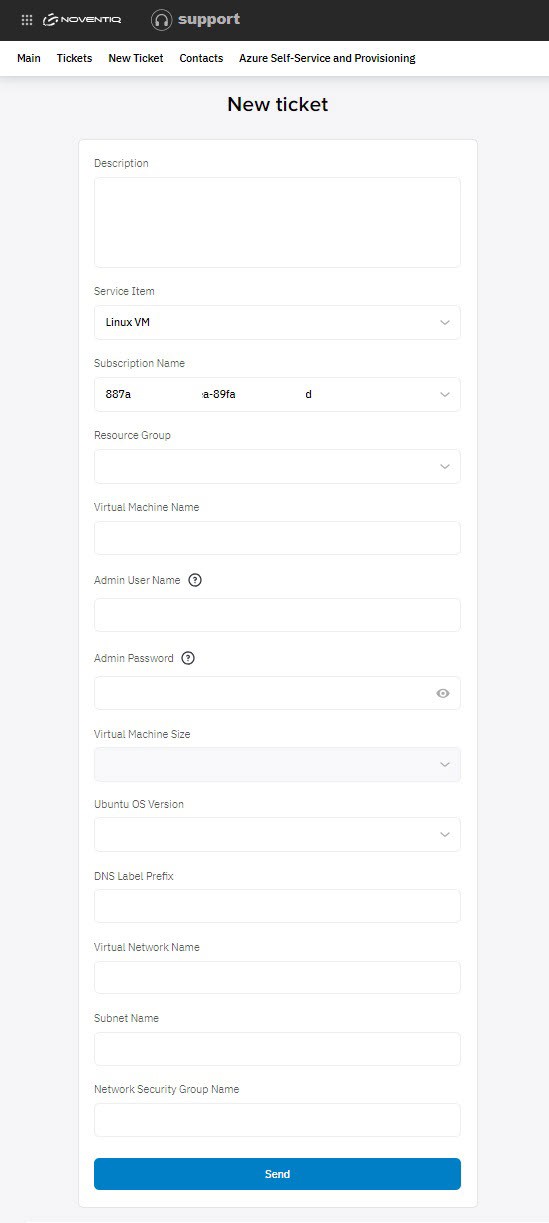
Linux VM
In the form to create Linux VM, you need to fill:
- Description – of the request itself. This field is not mandatory, but might help you to track for example the purpose for the resources to be created
- Subscription – select from a drop-down list in which subscription you want to create a resource.
- Resource group – select from the resource groups you already have or create a new one. If you want to create a new one – enter a name for it in the separate field that will appear.
- Virtual Machine name
- Admin username & Admin password – use our Tips to select the correct name and avoid potential errors during the resource provisioning
- VM size & OS version – select from the drop-down list of available parameters
- DNS Label Prefix
- Virtual Network name
- Subnet name
- Network Security Group name
And click Send!
Storage File Share
In the form to create Azure Storage account, you need to fill:
- Description – of the request itself. This field is not mandatory, but might help you to track for example the purpose for the resources to be created
- Subscription – select from a drop-down list in which subscription you want to create a resource.
- Resource group – select from the resource groups you already have or create a new one. If you want to create a new one – enter a name for it in the separate field that will appear.
- Azure Storage account name & File Share name – use our Tips to select the correct name and avoid potential errors during the resource provisioning
And click Send!